Durum wheat flour is mostly spread and used in the southern region of Italy.
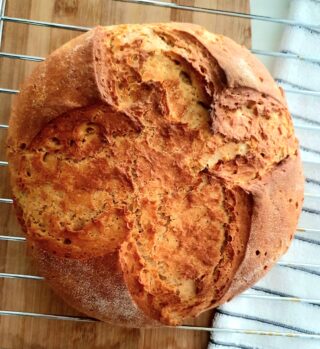
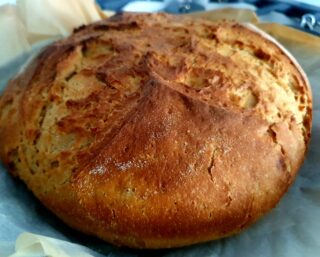
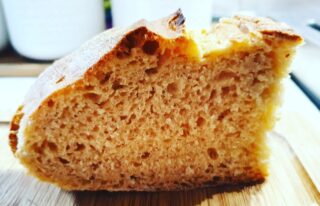
The bread baked with durum wheat is characterized by a crunchy and golden crust, with a soft and light yellow crumb.
Durum wheat has a low glycemic index compared to plain white flour. It is not as refined and processed as the latter and retains proteins, vitamins and healthy minerals.
This flour which is obtained from the grinding of durum wheat, it is conventionally called semolina and it is divided into the following types:
– semolina: slightly grainy and pale yellow in color, it is used to prepare dry or fresh pasta;
– whole meal semolina: richer in proteins, vitamins and minerals than traditional semolina;
– re-milled semolina: it has undergone an extra step in the milling phase and is characterized by a finer grain size, it is used for bread and pizza/focaccia
I used durum wheat for all savory baking and preparations and you can find all recipes on this website under the section baking.
Ingredients
- 1 kgdurum wheat flour
- 600 mllukewarm table water
- 15 gfresh yeast
- 10 gtable salt
- 1 spoonbarley malt
- 1 spoonextra-virgin olive oil
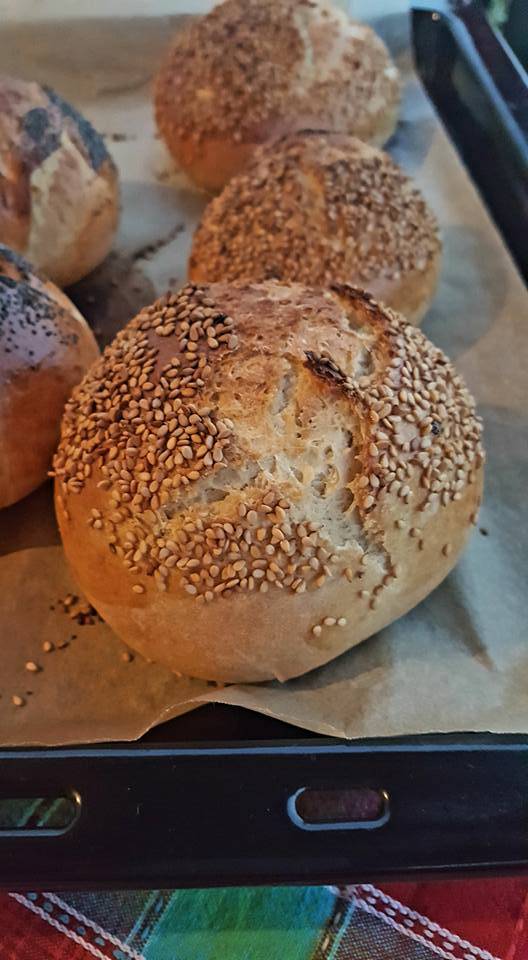
- q.s.sesame and poppy seeds (optional)
Preparation
– sift the flour onto a large bowl;
– in a separate bowl, melt the yeast and the barley malt into the lukewarm water;
– wait few minutes or till it starts making a white foam on the surface, then pour it on the sifted flour;
– mix well then start kneading;
– knead till you start getting a ball of dough;
– add the table salt diluted in a teaspoon table water;
– keep on kneading while adding the extra virgin olive oil;
– transfer the dough onto a working surface and knead as follow: fold the dough in half and rock forward on the heels of your hands to press it flat, turn the dough slightly, fold it in half, and rock into it again with the heels of your hands. Do this for about 30 seconds, then take the dough and smash it against the surface a couple of time. Alternate the kneading and the smashing for at least 10 minutes;
– transfer the dough into a large bowl, cover it with kitchen towel and put it to rest in a warm place, away from air drafts (i.e. the switched off oven);
– after 3 hours your dough should have doubled its size;
– dust with some flour the working surface and place the ball of dough onto it, flat it with your fingers to shape it into a rectangle;
– proceed to the first fold as follow: fold the longer side towards the center, and then fold the other free side towards the center too. You have obtained a cylinder. Fold one side of the cylinder towards the center and then fold the other side over it. This first fold is completed;
– now proceed to the second fold as follow: flat again the dough with your fingers to shape it again into a rectangle, then repeat the same procedure as above;
– round the edges with your hands, shape your loaf and place it on the baking tray or inside a dusted loaf baking tray;
– use a sharp knife to make an incision on top of the loaf;
– cover your loaf with a kitchen towel and allow it to rest in warm place, away from air drafts (i.e. the switched off oven) for about 1 hour;
– heat the oven to 230 degrees;
– put your loaf into the oven, and after 5 minutes low the temperature to 210 degrees;
– bake for about 40 minutes or till golden brown;
– allow the bread to cool down before slicing it